Chat
ChatClient.java ```JAVA import java.net.; import java.io.;
useradd [계정명] -m -s /bin/bash //홈폴더+쉘환경 지정
나같은 경우에는 /home/kim/html 같은 식으로 신규 사용자 kim과 kim의 홈 디렉토리, 그 밑의 html 디렉토리를 만들었다.
sudo chown -R www-data:www-data /home/kim/html
sudo chmod -R 755 /home/kim/html
<Directory /home/*/html/>
  Options Indexes FollowSymLinks
  AllowOverride None
  Require all granted
 </Directory>
sudo cp /etc/apache2/sites-available/000-default.conf /etc/apache2/sites-available/example.com.conf
sudo nano /etc/apache2/sites-available/example.com.conf
<VirtualHost *:80>
        # However, you must set it for any further virtual host explicitly.
        ServerName example.com
        ServerAlias www.example.com
        ServerAdmin webmaster@example.com
        DocumentRoot /var/www/html/example.com
        # Available loglevels: trace8, ..., trace1, debug, info, notice, warn,
        # error, crit, alert, emerg.
        # It is also possible to configure the loglevel for particular
        # modules, e.g.
        #LogLevel info ssl:warn
        ErrorLog ${APACHE_LOG_DIR}/error.log
        CustomLog ${APACHE_LOG_DIR}/access.log combined
        # For most configuration files from conf-available/, which are
        # enabled or disabled at a global level, it is possible to
        # include a line for only one particular virtual host. For example the
        # following line enables the CGI configuration for this host only
        # after it has been globally disabled with "a2disconf".
        #Include conf-available/serve-cgi-bin.conf
</VirtualHost>
# vim: syntax=apache ts=4 sw=4 sts=4 sr noet
sudo a2ensite example.com.conf
sudo vi /etc/hosts
  1 [ip 주소]       localhost
  2 [ip 주소]       ubuntu
  3 [ip 주소]       [만든 사이트 이름]
  6
  7
  8
  9 # The following lines are desirable for IPv6 capable hosts
나같은 경우에는 kim.com으로 만들었다.
sudo mysql -u root -p
CREATE DATABASE [DB 이름];
GRANT ALL ON [DB 이름].* TO '[DB user]'@'localhost' IDENTIFIED BY '[type_new_password_here]';
FLUSH PRIVILEGES;
exit
https://github.com/woduseh/woduseh.github.io/blob/master/_posts/2019-05-06-WebHosting.md 참조
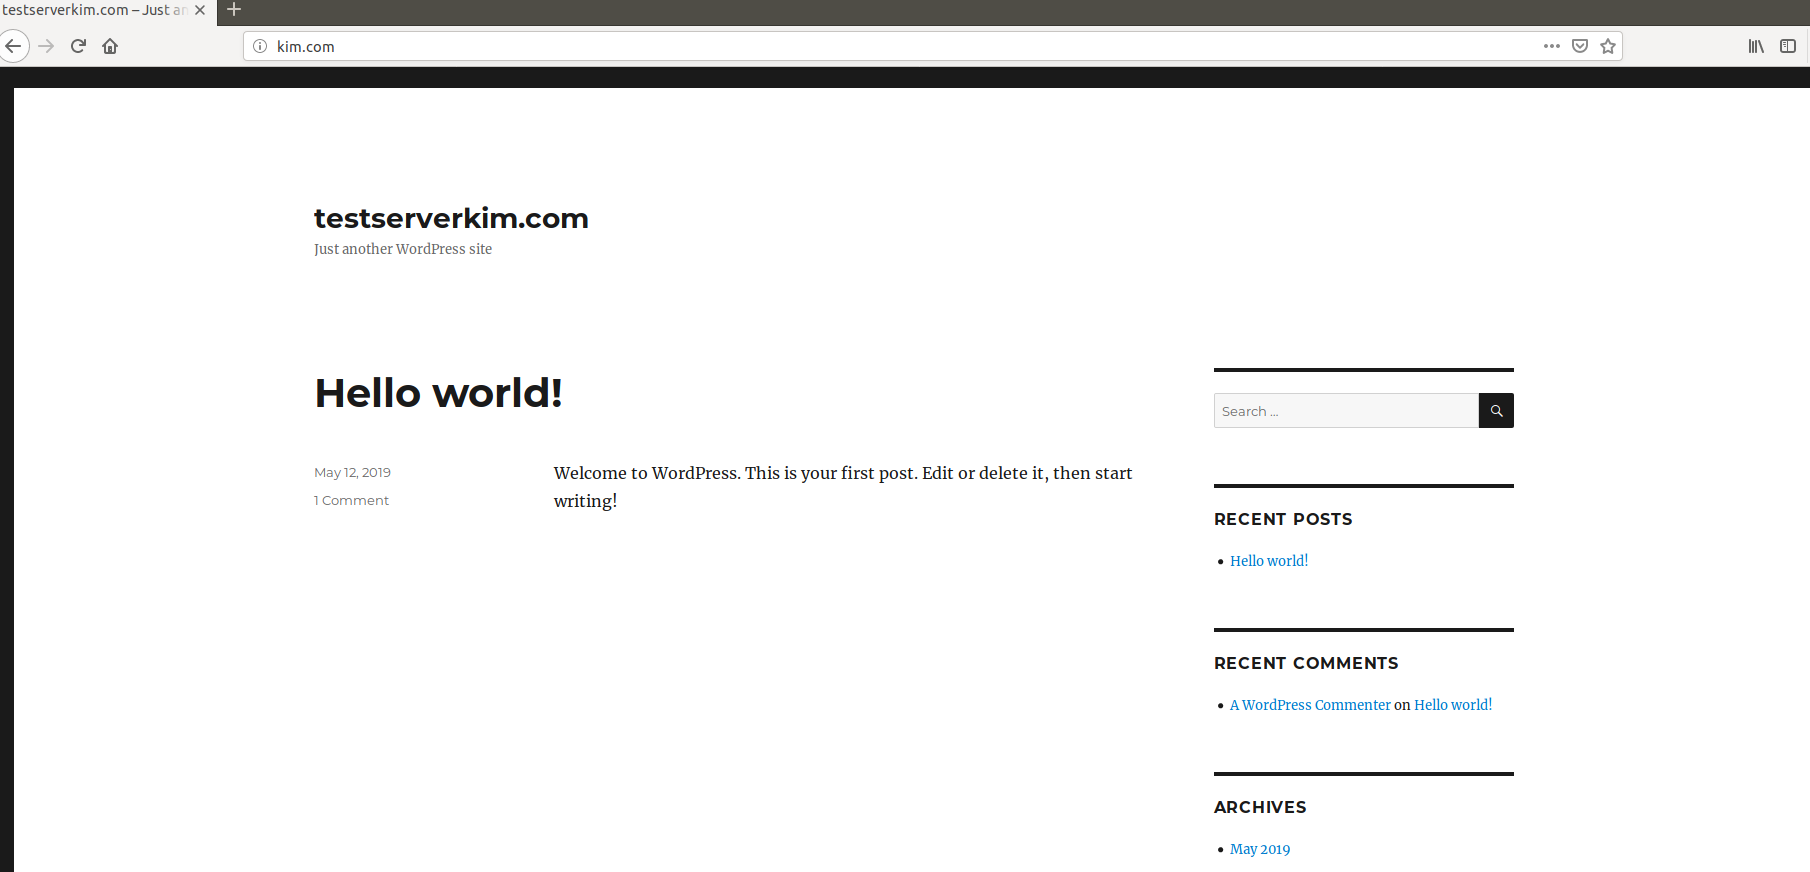
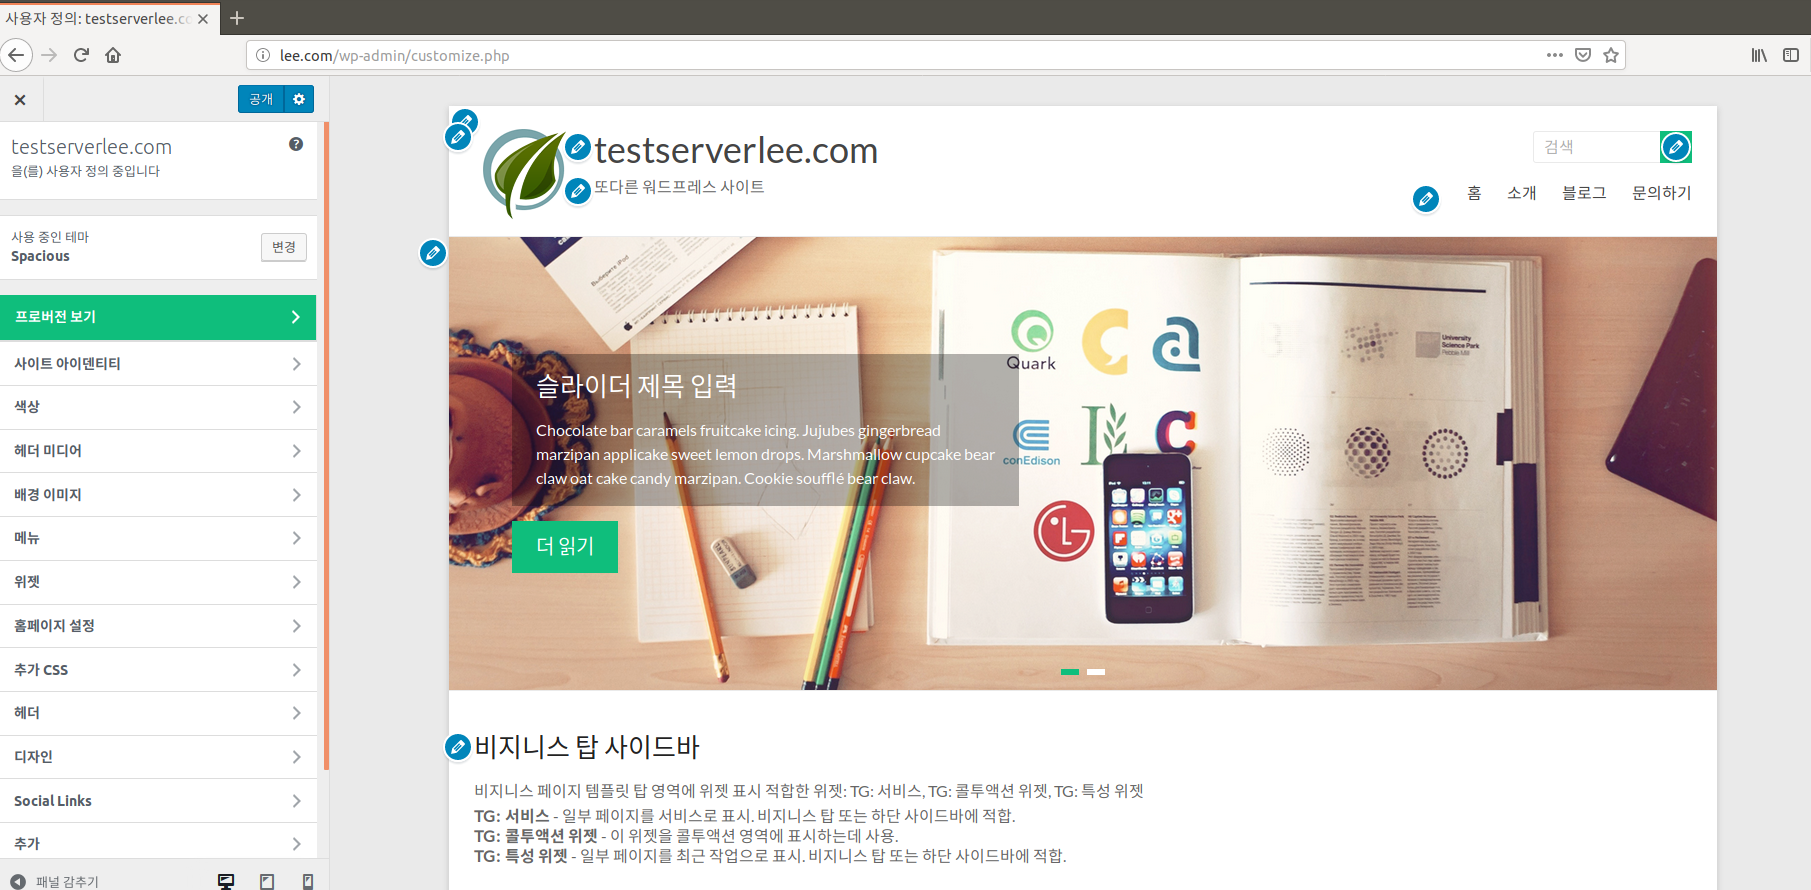
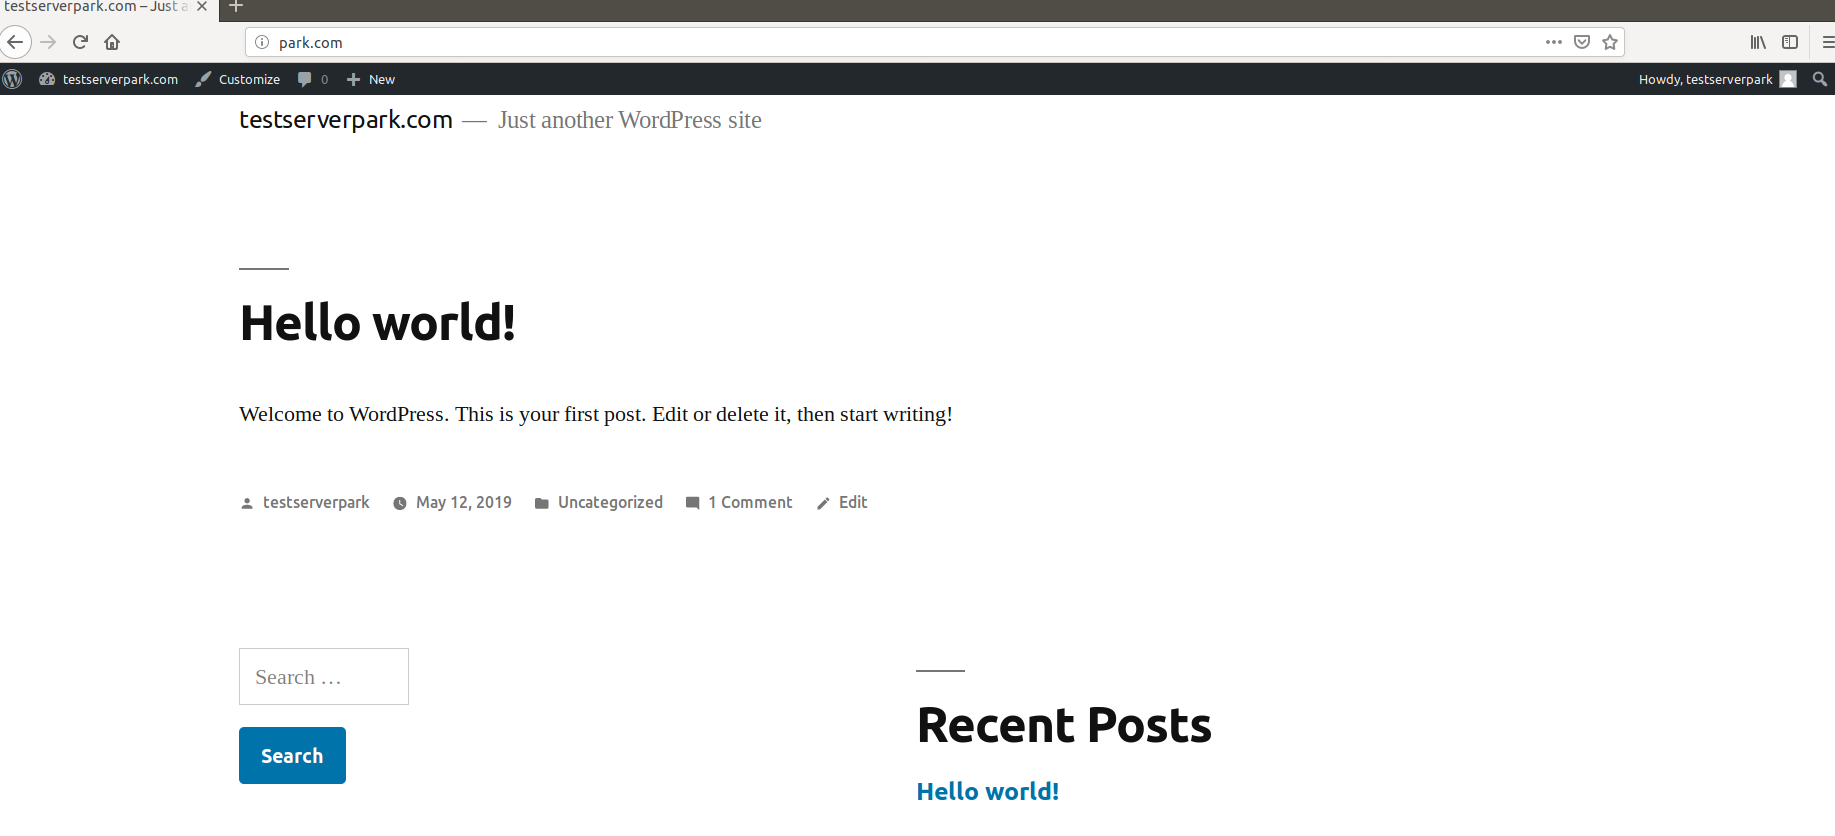
위의 과정을 3번 반복하면 3개의 가상호스트에 각각 wordpress를 설치할 수 있다
참고 자료
https://zetawiki.com/wiki/%EB%A6%AC%EB%88%85%EC%8A%A4_%EA%B3%84%EC%A0%95_%EC%83%9D%EC%84%B1_useradd
http://w3devlabs.net/wp/?p=19879
//이름 기반 가상 호스트 세팅

https://websiteforstudents.com/setup-apache2-virtualhost-multiple-wordpress-blogs/
https://www.ostechnix.com/configure-apache-virtual-hosts-ubuntu-part-1/
//각 사용자 계정에 홈페이지용 디렉토리 밑에 Wordpress 세팅
ChatClient.java ```JAVA import java.net.; import java.io.;
웹 호스팅 가상 호스트
Contents Management System
Ubuntu Apt 명령어 설명
가상 머신으로 리눅스(Ubuntu) 서버 구축하기 우분투를 설치하는 방법은 여러가지가 있다.
DNS DNS란?
서버와 서비스
Git과 Github 기초 사용법
Java Interface
Java Inheritance
Java Abstarct Class
Vim - Vi improvement
OSS와 실전프로젝트 2 수업에서 필요한 내용들을 업로드하는 용도입니다.
OSS 수업에서 리눅스 명령어들을 연습하고 블로그에 포스팅하라는 과제가 나왔습니다.